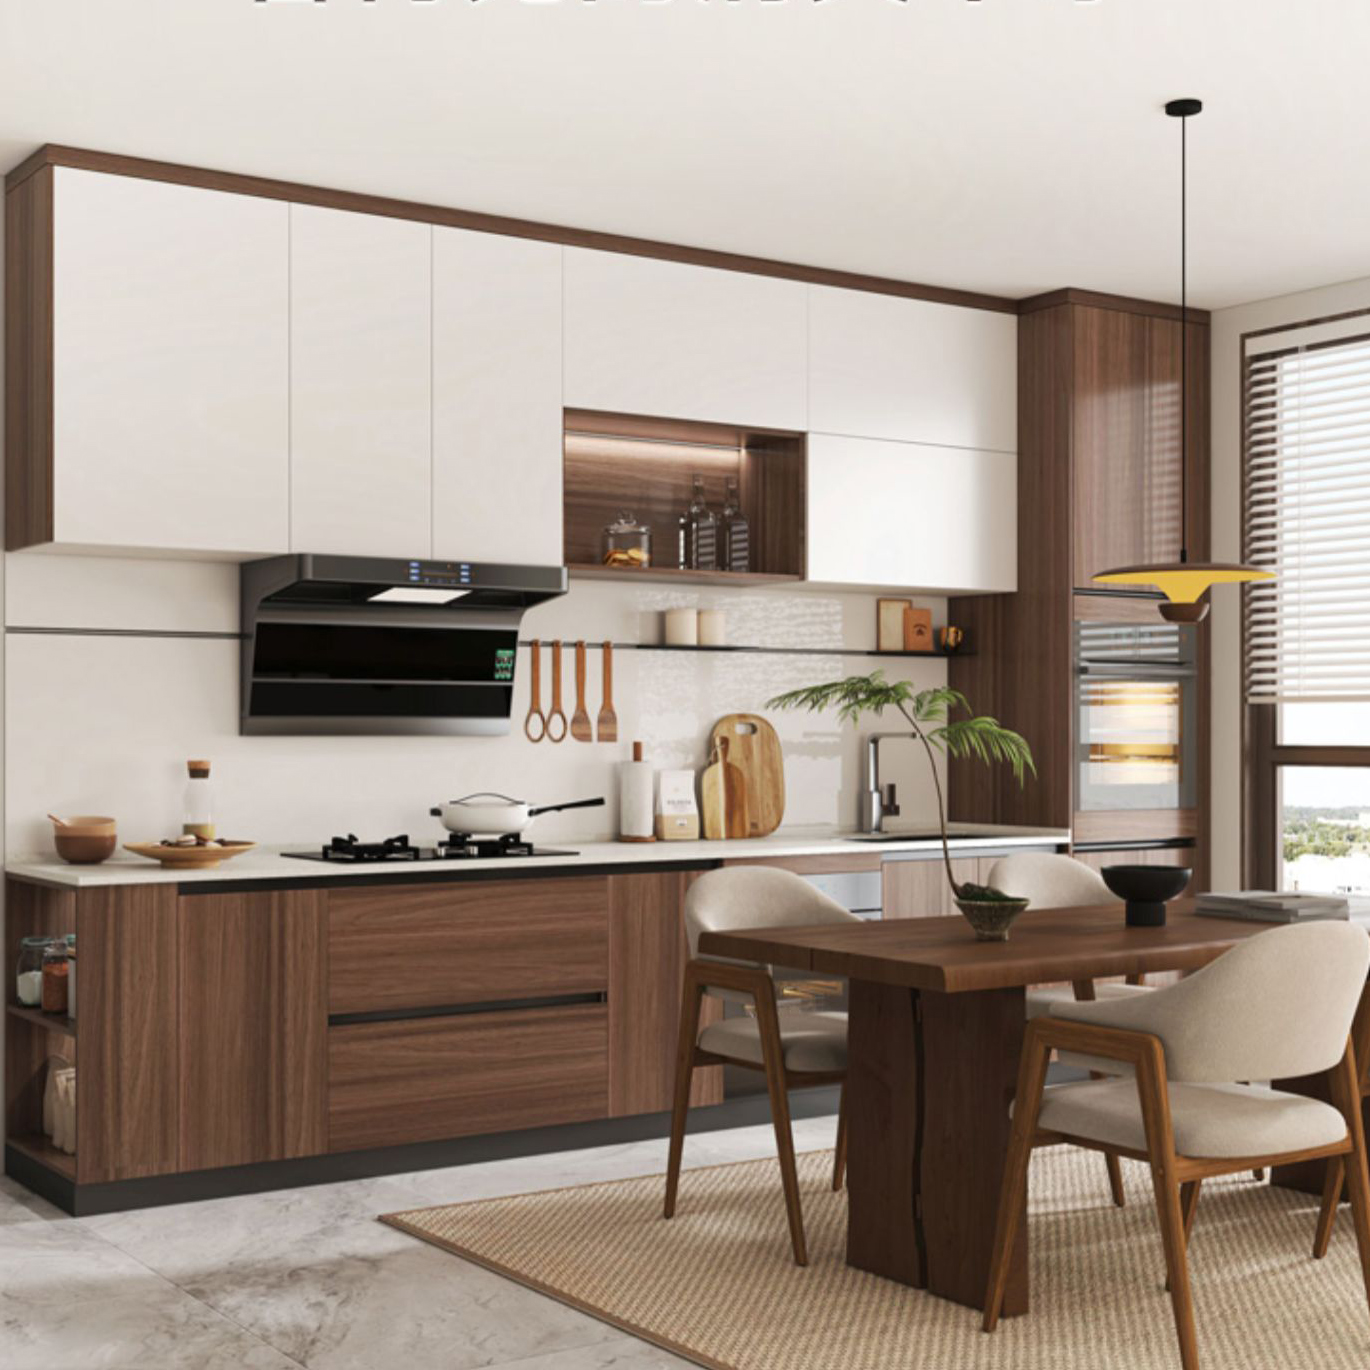
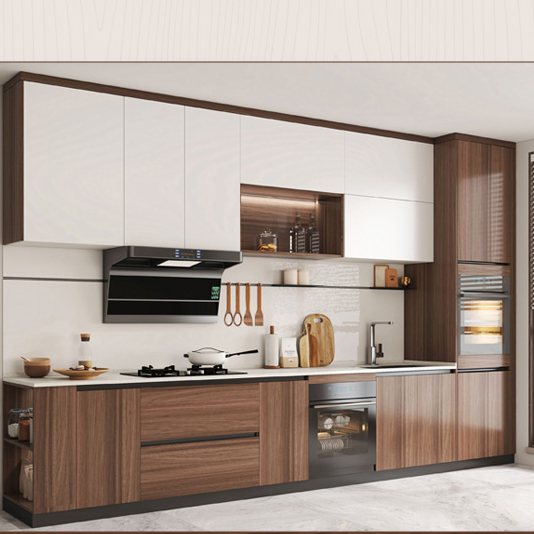
One-wall kitchen
Best for studios and tight spaces. Make the sequence obvious: fridge → sink → prep → cook. Use tall pantry units to compensate for limited base cabinets.

If you’re buying custom kitchen cabinets across borders, the “pretty render” is not your biggest risk—measurement errors, awkward workflow, and installation surprises are. This guide is written for you: a practical, decision-ready walkthrough from measuring → layout → materials & hardware → installation, so you can communicate clearly with suppliers and avoid expensive rework.
Interactive check: Does your kitchen have any of these problems—doors hitting each other, no landing space near the sink, or upper cabinets you bump your head on?
Many kitchens are not perfectly square. A wall can be “3000 mm” on paper, but out-of-plumb corners, uneven floors, or a hidden pipe can change cabinet fit. In global projects, the biggest delay is often not manufacturing—it’s site mismatch.
The classic sink–hob–fridge triangle is helpful, but modern kitchens need a wash → prep → cook → serve line. If your prep zone is smaller than your cutting board, you’ll feel it every day.
A premium panel can’t compensate for weak drawer slides or poor ventilation around appliances. In long-distance purchasing, your best protection is a design that is standardized, checkable, and install-friendly.
You don’t need to be a designer to measure like one. You just need a method. For overseas projects, create a single file your supplier can trust—photos + a sketch + numbers.
Expert note (installer mindset): “Measure the constraints before the cabinets—pipes, outlets, hood ducting, window openings, and floor level. Cabinets are flexible; site conditions are not.”
| Item | What to record | Why it matters |
|---|---|---|
| Room length & width | 3 points each wall (top/mid/bottom) | Detects non-square walls |
| Ceiling height | Min/Max height | Upper cabinet fit, crown, soffit strategy |
| Floor level | High/low spots (laser level if possible) | Toe-kick adjustment; prevents countertop cracks |
| Window position | Sill height + casing width | Sink placement, backsplash continuity |
| Door swing & clearances | Hinge side + opening angle | Avoids collisions with tall cabinets / islands |
| Plumbing points | Centerline + height from floor | Sink base cutouts, access panels |
| Drain outlet & vent | Offset, diameter, wall vs floor | Prevents “can’t connect” install day issues |
| Electrical outlets | Positions + circuit notes | Backsplash planning, appliance docking |
| Hood ducting path | Exit point + diameter | Upper cabinet depth, hood cover design |
| Appliance specs | Model, W×D×H, vent gaps | Built-in fit, warranty compliance |
| Radiators / HVAC | Location + airflow needs | Avoids blocked airflow and overheating |
| Column/beam obstacles | Exact projection & height range | Prevents filler-strip guesswork |
If you are not doing a professional site survey, assume you need a safety buffer. A common industry approach is to reserve about 5–10 mm at wall ends for fillers/scribes and keep appliance niches strictly per manufacturer requirements. It’s not about “loose work”—it’s about installability.
Question for you: Are your walls tiled already, or will tile thickness (often 6–12 mm) change the final dimensions?
A kitchen that feels calm is usually a kitchen where movement is predictable. The design logic is simple: you should never carry dripping items across the room, and your most-used tools should live within one step of where you use them.
Best for studios and tight spaces. Make the sequence obvious: fridge → sink → prep → cook. Use tall pantry units to compensate for limited base cabinets.
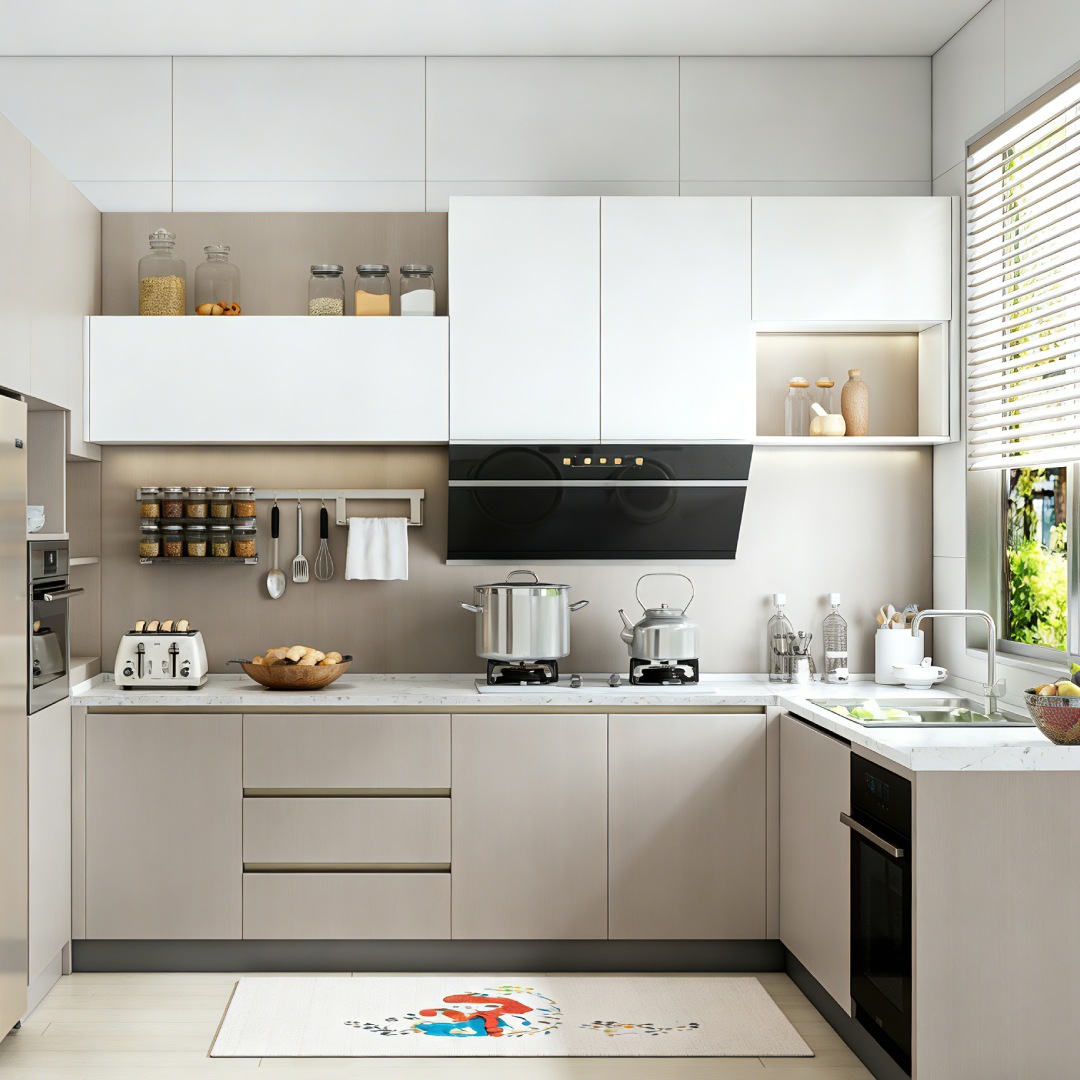
Efficient and fast. Keep the sink and cooktop on one side if possible so your main prep zone stays uninterrupted. Watch for appliance doors blocking the aisle.
Great balance of storage and counter space. Add corner solutions only if you’ll truly use them—sometimes a “dead corner” plus wider drawers is more practical.
Perfect for social cooking. Prioritize ventilation, noise control, and a clean “back view” from the living area. Consider where stools, lighting, and power outlets will go.
If your goal is a kitchen that feels good for years, your priorities should be: safe emissions, stable structure, and reliable motion (hinges/slides). This is where many buyers under-spec—because it’s not visible in photos.
For indoor air quality, buyers often request CARB Phase 2 (US) or E1/E0 (EU/Asia conventions). If you have kids or sensitive family members, ask for test reports and keep a consistent spec across all cabinet components—not just doors.
For a “premium feel,” focus on soft-close hinges, full-extension drawer slides, and functional storage. In many households, drawers are opened dozens of times per day; small friction becomes daily stress.
Buyers frequently reference Blum, Hettich, and Salice for hinges/slides. If you choose an equivalent option, request load rating details and cycle testing standards.
Human detail that matters: The best kitchen is not the biggest one. It’s the one that lets you cook without rushing—where your hands naturally find what you need, and your home feels lighter at the end of a long day.
Even perfect cabinets can fail if installation conditions are ignored. When your supplier is overseas, clarity is your superpower—define responsibilities, tools, and acceptance criteria early.
| Deliverable | What you should see | Your benefit |
|---|---|---|
| Dimensioned layout (mm/in) | All runs, fillers, clearances, appliance niches | Fast verification before production |
| Exploded view / part list | Cabinet codes, quantities, hardware mapping | Simpler installation and re-check |
| Material & compliance docs | Emission tests (e.g., CARB/E1), finish specs | Confidence + smoother import compliance |
| Packaging plan | Corner protection, labeling, damage policy | Less transit damage and faster sorting |
Your moment of truth: When you imagine cooking on a busy weekday, where do groceries land first, where do you wash, and where do you chop? If your layout doesn’t support that story, change the layout—not the color.
If you want to move faster without missing details, use a structured checklist that matches how cabinet factories and installers actually work—especially helpful for international communication and remote verification.
Includes measurement sheet template, workflow planning prompts, materials & hardware spec lines, and an installation-readiness review—so you can brief any supplier with confidence.
Get the Custom Kitchen Cabinet Design Checklist PDFTip: Save your filled checklist together with appliance manuals and kitchen photos in one folder before you request drawings.


 390
|
390
|
 solid wood furniture
panel furniture
furniture comparison guide
furniture maintenance tips
furniture durability
477
|
Customized wardrobes for small apartments
Wardrobe storage design
Wardrobe layout in a small bedroom
Floor-to-ceiling wardrobe
Built-in wardrobe
78
|
OEM furniture manufacturing
ODM Furniture Manufacturing
Difference between OEM and ODM
Furniture customization and manufacturing
Furniture production cooperation model
374
|
wooden furniture moisture protection
how to clean wooden furniture
DIY wood scratch repair
实木家具保养指南
家居防潮技巧
70
|
wooden furniture vs panel furniture
eco-friendly furniture options
home furniture buying guide
sustainable home decor
smart furniture selection
solid wood furniture
panel furniture
furniture comparison guide
furniture maintenance tips
furniture durability
477
|
Customized wardrobes for small apartments
Wardrobe storage design
Wardrobe layout in a small bedroom
Floor-to-ceiling wardrobe
Built-in wardrobe
78
|
OEM furniture manufacturing
ODM Furniture Manufacturing
Difference between OEM and ODM
Furniture customization and manufacturing
Furniture production cooperation model
374
|
wooden furniture moisture protection
how to clean wooden furniture
DIY wood scratch repair
实木家具保养指南
家居防潮技巧
70
|
wooden furniture vs panel furniture
eco-friendly furniture options
home furniture buying guide
sustainable home decor
smart furniture selection


.png?x-oss-process=image/resize,h_800,m_lfit/format,webp)